Last Update: February 04, 2016 |
System Utilities
Use the Change Precinct ID utility when you want to change the ID of a single precinct or precinct split. The new precinct ID must conform to the county's precinct ID style, which can be seen in VOTER FOCUS ADMIN > System Options > System Options > Precinct Number Style.
Note For more on precinct ID styles, see About Precinct IDs.
The new precinct ID will be used throughout the Voter Focus system, except for audit displays and reports. You might find it useful to maintain a list offline showing the old and new precinct numbers.
Changing a precinct ID does not automatically change the IDs of its associated precinct splits. Changes to precinct split IDs must be done individually by running the Change Precinct ID program for each precinct split.
Prerequisites for changing a precinct ID:
Check with VR Systems before running the Change Precinct ID program.
You cannot be in the post-book closing period for any upcoming election.
No ballot styles can be defined for any upcoming election.
The Change Precinct ID program must be run on the live database on a quiet system. That is, the Fab Four must be shut down and no users should be making changes on the system.
To change a precinct ID:
1. Go to VOTER FOCUS ADMIN > System Utilities > Database Utilities > Change Precinct ID.
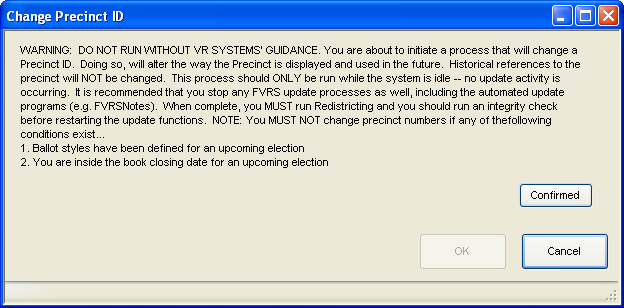
2. On the Change Precinct ID dialog, click Confirmed to acknowledge the prerequisites for running the Change Precinct ID program are met.
3. On the Select a Precinct or Precinct Split dialog, select the precinct whose ID you want to change.
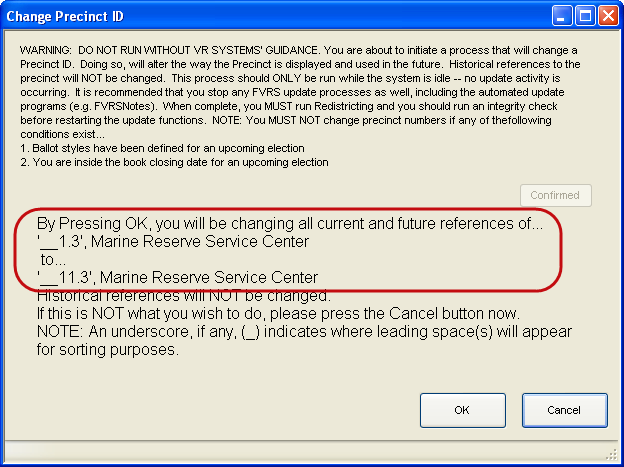
4. On the Enter New Precinct ID dialog, enter the new precinct ID and click OK. A note at the bottom of the Change Precinct ID dialog will reflect the changes you have entered. If you see an underscore character (_), it means the system is inserting a leading space(s) so the precinct ID appear in the proper sort order.
5. Click OK to complete the change to the precinct ID. When the change is complete, you'll see the message:
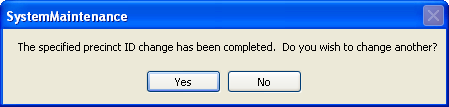
6. Click Yes to repeat the process for another precinct ID. Click No to exit the program.
7. On the System Codes dialog, click Close.
8. Go to STREETS AND PRECINCTS > Redistricting > Redistrict Update and run Redistricting Update.
9. Go to VOTER FOCUS ADMIN and run Integrity Check Routine. On the Integrity Check Routine dialog, select all check boxes in the Integrity Check Options box and click OK. Print the report and verify that no issues were detected. If issues are found, correct them and rerun Integrity Check until you get a clean report.
10. Restart the Fab Four and resume normal operations on the live database.