Scan ABBM Requests
When an Application For Ballot By Mail (ABBM) is received, the first step is to create a digital copy of the request by scanning the application. Because the information on the ABBM must be referenced by a number of different processes and because Texas law requires that counties keep a record of the original ABBM sent by the voter, it is a best practice to keep the scanned image of the ABBM in the system. The Scan ABBM program allows you to scan ABBMs or Limited Ballot applications or import images of these applications, and then review and release the images for processing.
Go to Ballot By Mail > Scan ABBM to open the ABBM Batches dialog.
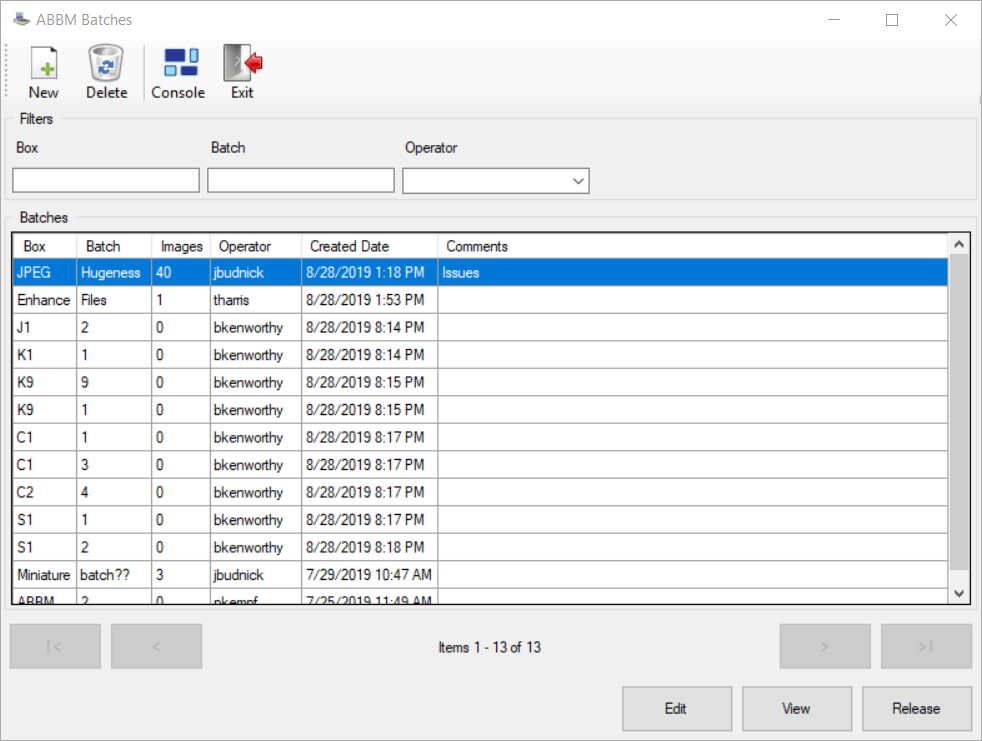
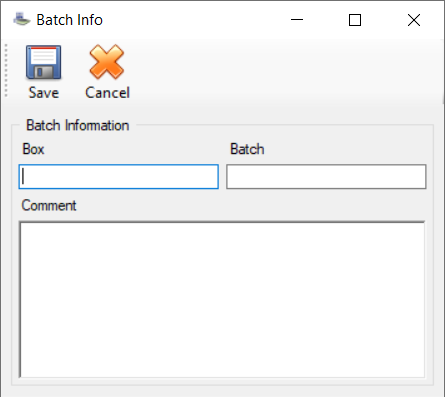
- On the ABBM Batches dialog, click New to create a new batch. Batches are used to group similar or related images. The Batch Info dialog displays.
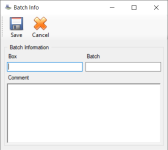
- Enter unique box and batch descriptions to assign the organizational structure for the batch location and, if needed to associate with the batch, a comment.
- Click Save.
- On the ABBM Batches dialog, select your new batch and click View. The Batch Images dialog displays.

- Do one or both of the following:
- Scan
- Verify that a scanner machine is connected to your computer and is turned on. Some scanners must be turned on before the computer is turned on, so if you have problems connecting to the scanner, power down both machines. Then power-up the scanner first, before you power-up the computer.
- Place the batch of forms into the scanner infeed with the top of each document going into the scanner first. You will be able to rotate an improperly oriented image later if you need to, but it saves time if all documents are facing the same way.
- When scanning a two-sided or multi-page document, verify the first page scanned contains the signature. This allows you to clip the signature from the first page in the batch so the system will display the signature with the correct page on the Comms tab in voter records.
- Click Scan.
- Select one or more ABBMs for the batch from the Select Source dialog and click Select.
Tip: For possible future reference, bundle the scanned paper documents from this batch in the same order as they were scanned. - Import
- Click Import.
- Select the folder on your machine containing the scanned image files for the batch and click Select Folder.
Note: If you receive an error advising you the image is too large, see Image File Size for ways you can reduce the size.Tip: Verify all images and only the images you want to import are located in one folder. Import adds all images in the folder you select.
All images from the scan, import, or both are included in the batch.
- Scan
- Verify all images in the batch are clear and legible. Use the Prior and Next buttons on the Batch Images dialog to navigate if there are multiple images.
- On the ABBM Batches dialog, you can use the following to locate the row containing the batch to review:
- The filters above the grid to narrow the items that are listed.
- The arrows at the bottom of the dialog to navigate between pages.
- Double-click the row or select the row and click View. The Batch Images dialog displays.
- Verify all images in the batch are clear and legible. Use the Prior and Next buttons on the Batch Images dialog to navigate if there are multiple images.
- After verifying all images in the batch are legible, on the ABBM Batches dialog, locate the row containing the batch to release.
- Select the row and click Release. The images are sent to the Process ABBM Queue. From this queue, you can find the voter to which the ABBM is to be assigned, review the ABBM detail, and then mark the request as Accepted or Rejected.
- Verify all images are clear and legible before releasing them to the Process ABBM Queue. Click Delete to remove unacceptable images, and then import or scan replacement images.
- Verify the image files you are importing or have scanned are not set as read-only. This setting will cause an error when attempting to delete a batch or an image in Voter Focus.
- On the ABBM Batches dialog, locate the row containing the batch to edit.
- Select a batch and click Edit. The Batch Info dialog displays.
- Change the box description, the batch description, or the comment.
- Click Save.


